Semi Hollow Electric Guitar | Gibson ES-335
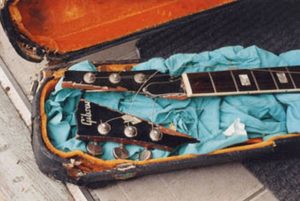
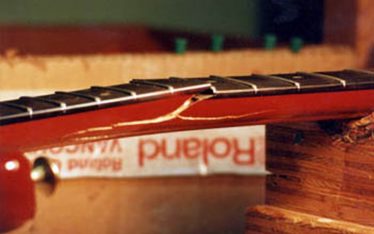
It was supposed to be a nice vacation, but it was ruined by a careless cargo worker at the airport. Luckily, the guitar was insured, but the owner’s precious guitar will never be the same.
He asked the manufacturer, Gibson, to make a new neck, but they estimated an unbelievable price and a long wait for delivery. Basically, they’re not too interested in this kind of repair work. Repairing guitars is fundamentally very different from building them.
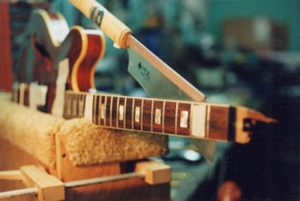
First, you have to measure every part of the original neck and make templates, if necessary. I sliced off the fretboard to reuse it later.
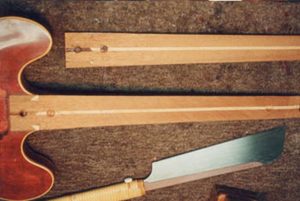
There are a few different ways to remove a fretboard. You can use heat, such as heat lamp or heat iron, but high heat may damage celluloid position marks or cause the wood to deform.
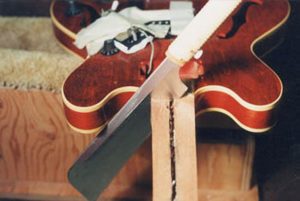
The neck should be cut off at the heel after the fretboard and truss rod are removed.
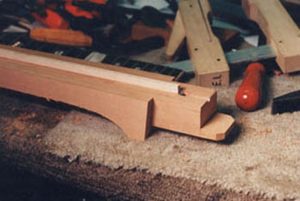
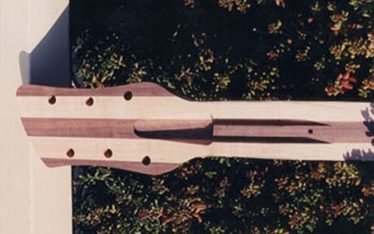
After the neck blank is shaped roughly, the part that goes into the neck pocket should be shaped just like the original to fit exactly in the neck pocket. The neck angle has to be the same as the original both vertically and horizontally. There are a few different types of truss rod. The rod in this neck, invented by Gibson, is the simplest and very effective.
Imagine if you tied a rope to a tree and hold the other end. When you relax, the rope is loose, and the middle part of the rope is lower than your hand. But if you pull it, the rope will be straight. Using the same principle on a guitar, tightening the truss rod can straighten the neck.
You mount a steel rod, just like the loose rope analogy, anchored on one end in the neck. If the neck is bowed because of string tension, you pull on the other end with some force. Thus, with the rod straightened, the neck will be straightened, too.
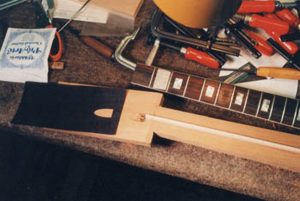
The way to pull the rod is simple. Cut a thread on the free end of the anchored rod and install a nut on it. Then put a large washer in between the nut and the neck. When you turn the nut clockwise, the rod is pulled because the washer stops the nut from moving into the rod.

The truss rod nut cavity should be large enough for a box wrench, but to make this cavity just like the original is sometimes very complicated because of its various angles. A hole for the truss rod cavity on the head plate should be cut before the plate is glued. The fretboard should be glued first and the head plate next.
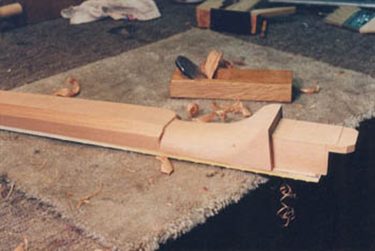
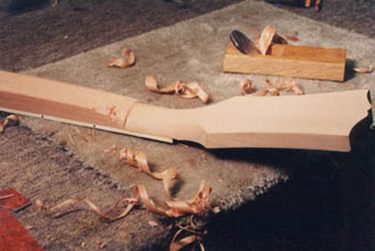
The heel and the head should be shaped about 95% using the templates made earlier. You can shape the whole neck by planing in between the head and heel using a straight edge.

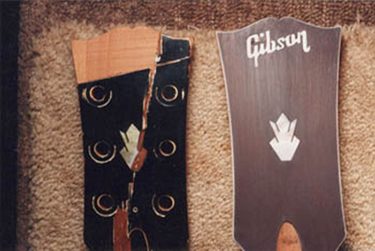
Half of the “N” of the Gibson logo was missing, so I made a new part and removed the rest of the logo from the original head plate for reuse.
It is almost impossible to make an invisible joint on a large area of mother-of-pearl. As I haven’t figured out how do it yet, it is much easier and better to make a new piece like this crown peghead inlay.
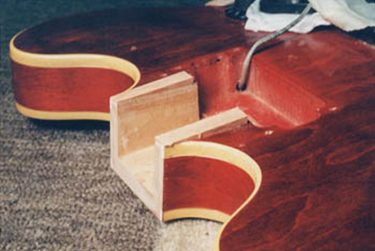
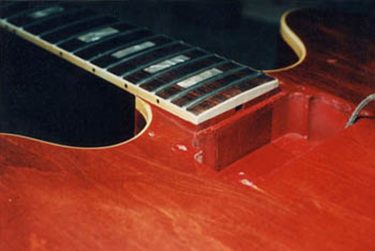
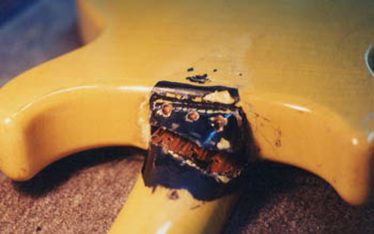
The gap in between the fretboard and body should be filled with a wedge-shaped piece of mahogany.
The neck was glued onto the body after being completely finished and polished. The pick-up cavity should be finished roughly. Then it is very hard to tell that there was a repair.
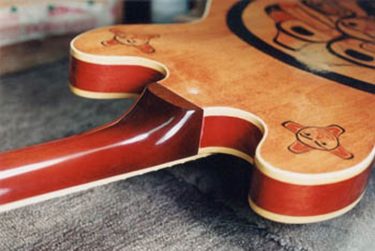
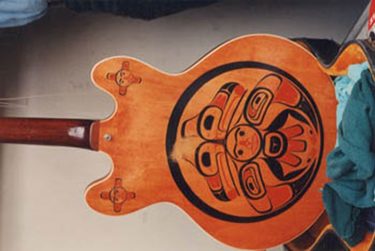
Generally speaking, most people want to only repair the headstock with this kind of break, but the owner wanted a complete, perfect repair because of this beautiful artwork by a native Tahltan artist Dale Campbell.
The lesson here: Be prepared for the worst damage when you check-in your precious guitar for shipping.


