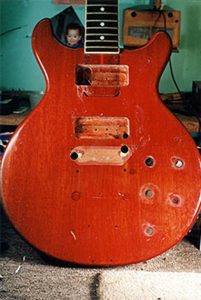
Electric Guitar | Gibson Les Paul, Vintage
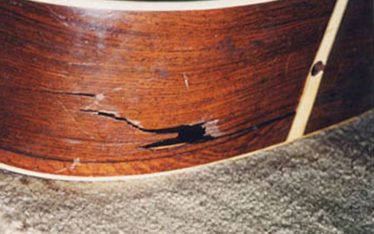
 Over its long life, this guitar had various screw holes made on top to install different bridges and tail pieces to improve the intonation and playability. Also, for better lower action, about two millimeters of wood had been removed from under the bridge to recess it. This was the owner’s first guitar, his treasure. He wanted to mend its wounds and let it retire.
When doing a repair, it is almost impossible to match the grain of mahogany, especially when it has a transparent finish. So this time I decided to replace a big section on the top with a thin mahogany board.
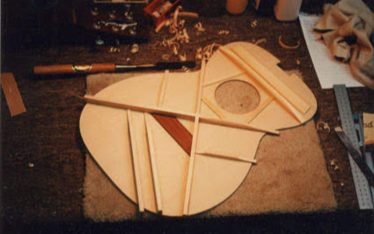
 All the holes were around the center of the top, so about 1/3 of the top had to be replaced by new mahogany. The original body was “book matched” (a technique of slicing a block of wood in two to get two pieces of wood with symmetrical grain) so the new section had to be book matched too.
When I drew lines along the grain on both sides of the top, the two lines were not parallel. They narrowed near the neck.
I made a template exactly the same shape of the new section. After filling all the holes with dowels, I removed about 1/8 inch of mahogany for the new section, using the template as the guide. As you can tell in this photo, the extended part of the neck on the neck pick-up cavity hasn’t been touched. I used a router to shape the new book-matched mahogany using the template, then the new section was ready to be installed.
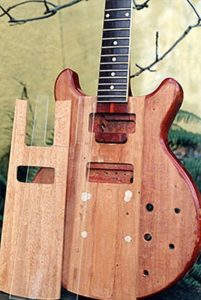
As the original mahogany’s grain was very straight, I could make a new, gradually tapered section, but it is not easy to find wood closely matching the original even if using the same species of wood. The new section on this photo is the second one I made, and it still looks different from the original mahogany.
 After trial and error, the fourth attempt was successful. I cut a smaller hole for the bridge pick-up, so I could cut exactly the same as the original pick-up cavity after installing the new section.
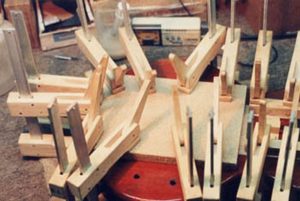
As the new section has a very shallow wedge shape, I knew that if I pushed a little towards the neck when gluing it, it would fit perfectly, and the glue line would be invisible. It was hard to wait to undo clamps and see the result.
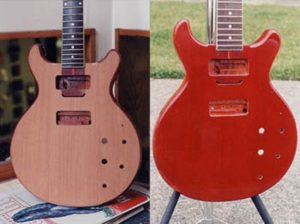 After trimming the edges of the body and pick-up cavity, it was ready to be painted. All the screw holes had disappeared.
As the owner wanted the top to look like new, I didn’t take any steps to create a vintage guitar effect.
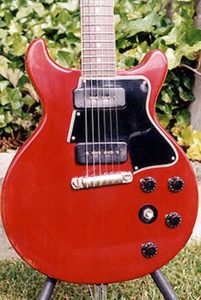
When I saw the smile on the owner’s face, all the troubles and effort were worth it. This is the happiest moment for a guitar repair man.