Acoustic Guitar | Martin D-45, 12 Strings Guitar

Installing new top, binding, and inlay on Martin D-45.
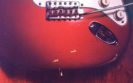
Popular musicians worldwide must perform under various conditions, and so do their instruments. Their guitars may be exposed to salt air one day, then stored in the cargo hold of a jet at 9,000 meters high in the sky, and then right after that played at a football stadium at the equator. Under different environmental conditions, the wood of a guitar has a hard time alternating between being very dry, sweating, expanding, and shrinking. If subjected to a hard life like that, not even a masterpiece can stay in top condition.
The owner of this Martin masterpiece wanted me to restore his guitar with no limit on cost – a repair man’s dream.

The original bridge was removed and saved, just in case it could be reused (left). The fretboard was also saved (right).
 The outer binding had to be removed carefully so as not to damage the shell inlay (in order to preserve the inlay on the side as is). A router can be used to roughly remove the binding, but you have to remove the rest using a chisel, scraper or heat gun.
 As a heat gun can soften plastic and glue, this makes it easier to remove the binding.
 The shell inlays had to be saved while the binding was removed. These will be reused.
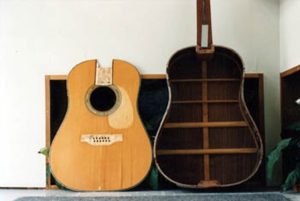 After all the inlays were removed, the top had to be carefully removed from the side.
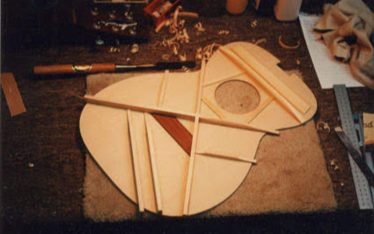
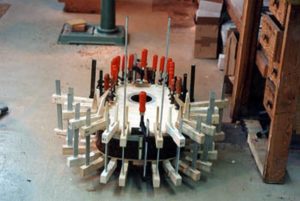 Then came cleaning up of the lining and shaping all the braces, then carefully gluing the top so as not to change the neck angle.
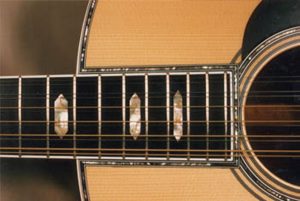
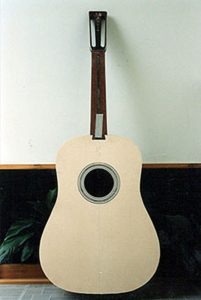 The new top is, of course, Martin’s AAA top, as are the inlays around the sound hole.
 After the top was glued, a channel for the inlay and binding was made using a router. Much patience and skill are required to make a precise and perfect channel for the inlays and binding.
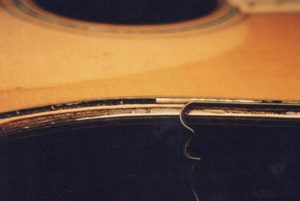
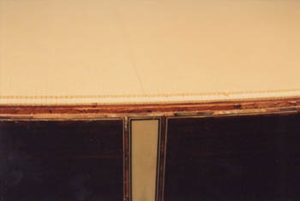 This is the view of the channel from the bottom of the guitar. Both the width and depth of the channel must be perfect.
 When gluing the bindings and shells, don’t glue them all at once. First, glue the bindings and the long Teflon strip the same width and depth as the shell inlay. Next, remove the Teflon strip from the channel. Then the channel is ready to be filled with the shell inlays.
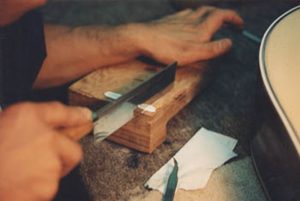 A brand new shell had to be cut and inlayed at the spot where it was missing.
 The inlay and bindings beside the fretboard on the top must be meticulously installed. The lines must be perfectly parallel to the fretboard edges; otherwise, all other great efforts won’t be appreciated. In this picture, you can see the area where there is no shell on both sides of the neck. This is the channel for the shell inlay after the Teflon was removed.
After the entire inlay was installed, any small gaps had to be filled with resin and then sanded. The fretboard, bridge and pick guard were installed after the finish was polished. The binding on the fretboard and frets was also replaced.
The original bridge was reshaped, and a new, compensated saddle was made for better tuning.